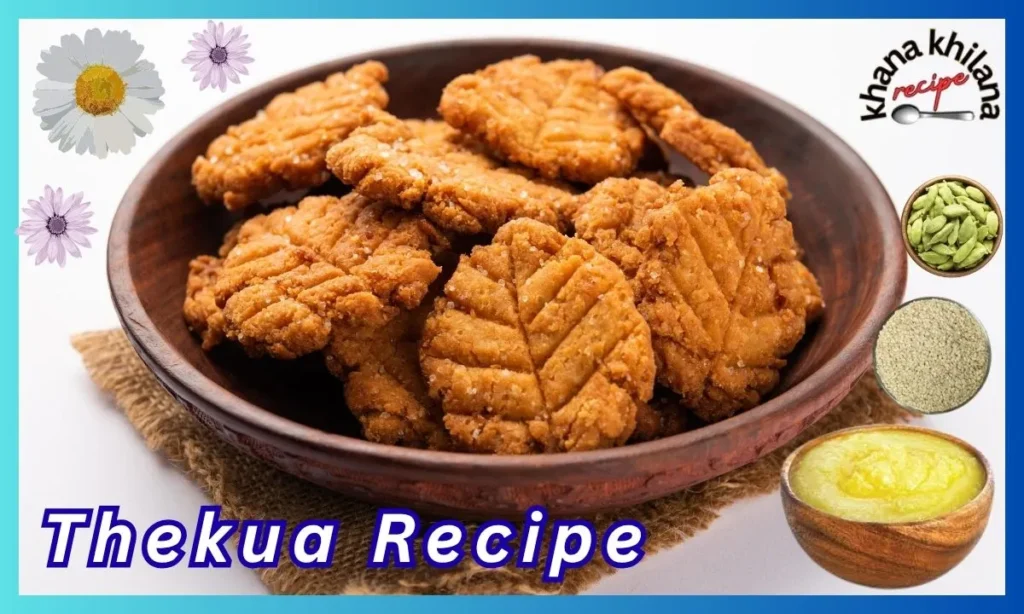
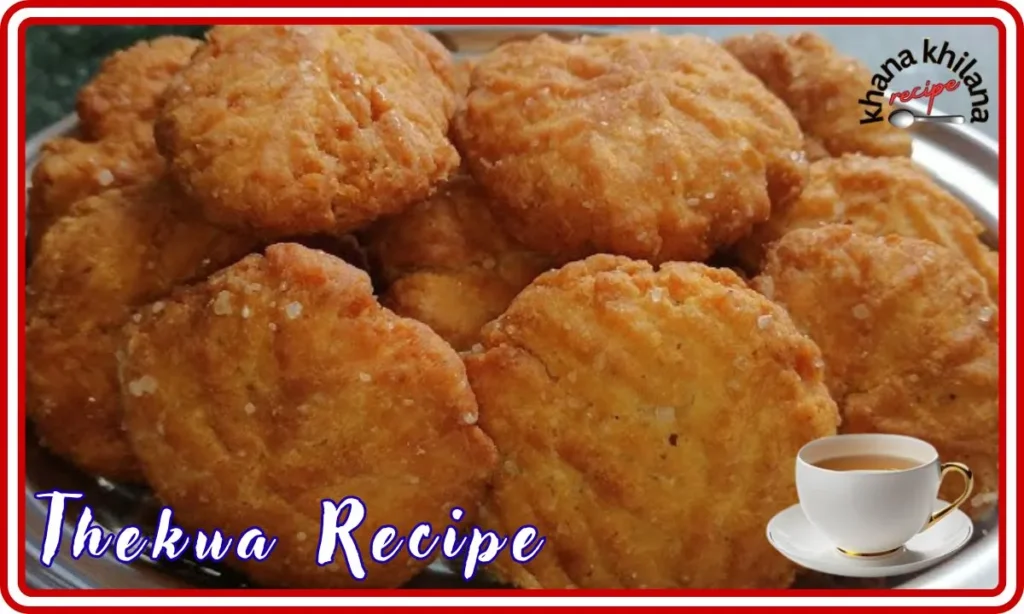
Thekua – also known as Khajuria or Thokua, is a popular traditional Thekua Recipe from Bihar, Jharkhand, eastern Uttar Pradesh, and parts of Nepal. This rustic dish, deeply rooted in cultural identity, is made from wheat flour, ghee, jaggery, and a handful of aromatic spices. It is most famously offered as prasad to the Sun God in the morning during the sacred Chhath Puja. But thekua has now transcended the boundaries of festivals—it’s now a favorite snack in every season, known for its earthy sweetness, crunchy edges, and soft, grainy flavor.
Today, we’ll take you through every detail, from its cultural significance and essential ingredients to step-by-step instructions, shaping techniques, tips, and variations, so you can recreate the authentic taste of this traditional dish in your own kitchen.
History and Cultural Significance Thekua Recipe
Thekua’s flavor has centuries-old roots. During the traditional Chhath Puja, devotees observe a fast and offer thekua to the setting and rising sun as a symbol of gratitude. The ingredients in thekua have symbolic meaning—wheat flour symbolizes nourishment, jaggery represents purity, and ghee is associated with divine prosperity.
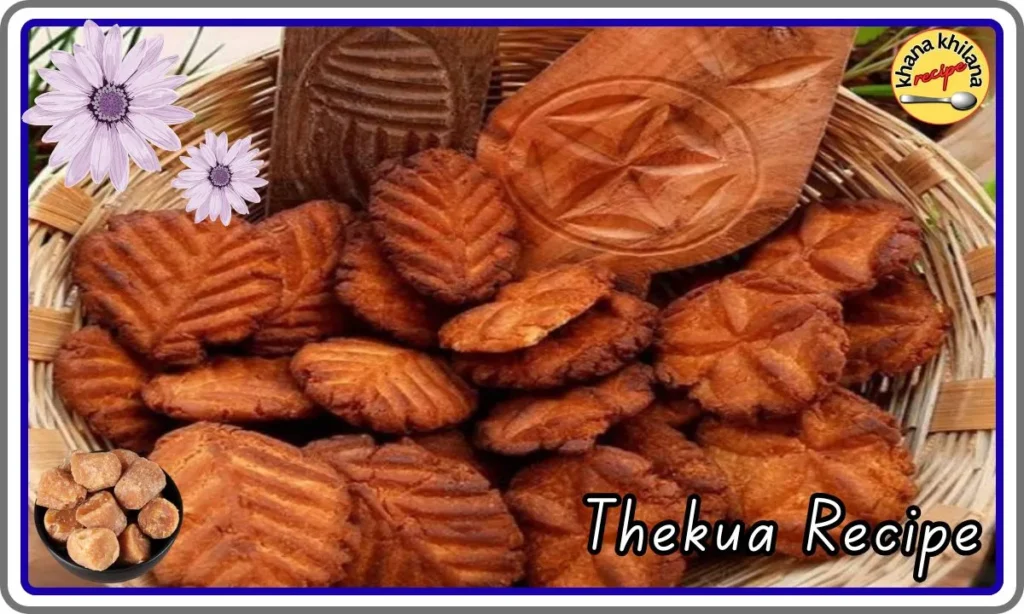
Traditionally, thekua is made in rural homes using clay stoves and handmade wooden molds called sanchas, each of which has unique floral or geometric shapes carved into the dough. In many homes, these recipes are passed down from generation to generation, and each family has its own unique twist—some add finely chopped coconut, others fennel seeds or ground cardamom.

What Makes Thekua Recipe Special?
Thekua’s texture and flavor are different from any modern biscuit or cookie, yet it still resembles a biscuit. It’s crisp on the outside and soft on the inside, with a pleasant sweetness and a slight jaggery flavor. It has no preservatives, no artificial flavors—just simple, wholesome ingredients and traditional techniques that have stood the test of time.
It’s long shelf life and portable nature have made it an ideal travel snack—it doesn’t spoil easily, can be stored, and still tastes great even after several days.
Prep Time – 20 Minutes
Cook Time – 40 to 50 Minutes
Serving – 15 to 20
Total Time – 1 Hour 10 Minutes
Cuisine – Bihari
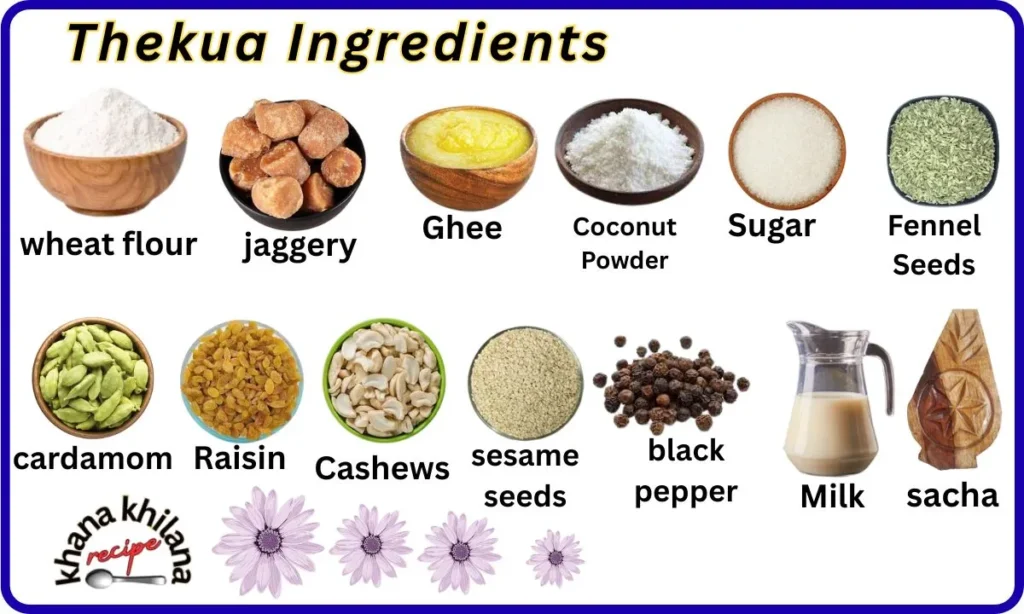
Ingredients You’ll Need
For the dough:
2 cups whole wheat flour
1 cup grated or powdered jaggery
1/2 cup water (adjust as needed)
4 tablespoons ghee (clarified butter)
1/2 teaspoon green cardamom powder
1/2 teaspoon grated coconut (optional)
1 tablespoon grated dry coconut or desiccated coconut (optional)
1 teaspoon saunf (fennel seeds), lightly crushed
A pinch of black pepper (traditional recipes sometimes use this)
Oil or ghee for deep frying
Optional flavoring add-ons:
1 tablespoon milk (for richer flavor)
1 teaspoon sesame seeds for crunch
1 tablespoon chopped dry fruits like raisins or cashews
Step-by-Step Preparation of Thekua Recipe
Step 1: Prepare the Jaggery Syrup
1. Take one cup of jaggery and dissolve it in about half a cup of lukewarm water.
2. Mix well until the jaggery melts completely.
3. Strain the mixture to remove all impurities and let it cool until lukewarm.
This jaggery syrup acts as a binder and sweetener for your dough. Avoid overheating it or boiling it to a thick syrup; it should be pourable.
Step 2: Mix the Dry Ingredients
1. Add wheat flour, cardamom powder, crushed fennel seeds, grated coconut, and a pinch of black pepper to a large bowl.
2. Mix them well.
3. Add ghee and gently rub it into the dough until it resembles coarse breadcrumbs. This ensures each thekua is crisp yet crumbly.
Step 3: Form the Dough
1. Slowly add the lukewarm jaggery syrup to the flour mixture.
2. Mix with your hands until the dough becomes stiff.
3. Do not over-knead; the thekua dough should be firm, slightly softer than chapati dough.
4. Cover and let it rest for 15-20 minutes.
If the dough feels too dry, sprinkle a tablespoon or two of water. If it’s too soft, dust a little extra wheat flour.
Step 4: Shape the Thekua
There are two popular ways to shape the thekua:
Traditional Method (Wooden Mold):
Take a small ball of dough (about the size of a lemon). Press it into a smooth wooden mold to create a beautiful design. Lightly pat the dough to shape it.
Hand-Shaping Method:
Slightly flatten the dough ball with your palms and lightly mark it with your thumbprints or make shapes with a fork. Small grooves help it cook evenly and look beautiful.
Place each shaped thekua on a greased plate and set aside.
Step 5: Fry the Thekua
1. Heat ghee or oil in a deep nonstick frying pan over medium heat.
2. Once hot, reduce the heat to low-medium before frying.
3. Fry 3-4 thekua at a time; do not overcrowd the pan.
4. Gently turn them occasionally for even color.
5. Fry each thekua until golden brown. It turns golden brown and crispy.
6. Drain on a paper towel to remove excess oil.
For the perfect texture, avoid overheating or under-frying—they should be cooked slowly and carefully to maintain their distinctive crispness.
Step-by-Step: Stamping (Designing) the Thekua
An important part of making the Thekua is stamping and beautifying it. This enhances its artistic appearance and ensures the dough cooks evenly.
Traditional Method:
Apply a little ghee to the mold before pressing the dough to prevent it from sticking.
Press it gently but firmly to carve the design without breaking the dough.
Tap the back of the mold to gently remove the shaped piece.
Modern Alternatives:
If you don’t have wooden molds:
– Use cookie cutters to create festive shapes (flowers, circles, squares, hearts).
– Press down on the back of a fork or the bottom of a glass with a patterned surface.
– Use small molds used to make barfi or laddus.
The design is not only beautiful but also adds to the cultural appeal of your thekua batch.
Variations of Thekua
1. Dry Coconut Thekua: Add finely grated dry coconut for a nutty flavor.
2. Sugar Thekua: For a milder flavor, replace jaggery with brown or regular sugar.
3. Fruit Thekua: Add dried fruits or chopped dates to enhance the texture.
4. Baked Thekua: For a milder flavor, instead of frying, bake in a preheated oven at 180°C for 10-12 minutes until crisp.
5. Spiced Thekua: Add nutmeg or clove powder for a festive aroma.
Pro Tips for Perfect Thekua
Always use medium heat when frying to prevent the outer layer from burning and to ensure a crispy, soft interior.
The jaggery syrup should be lukewarm, not too hot, or the dough may become sticky.
The consistency of the dough is crucial—it shouldn’t be too soft, or your thekua will lose its shape.
Fry in small batches to ensure even cooking.
For longer shelf life, let the thekua cool completely and then store them in an airtight container.
Storage and Shelf Life
One of the greatest qualities of thekua is its longevity. If stored properly, airtight:
It can last up to two weeks in a dry, airtight container at room temperature.
In humid areas, refrigerate it and bring it to room temperature before serving.
Avoid damp containers, as moisture softens its crispness.
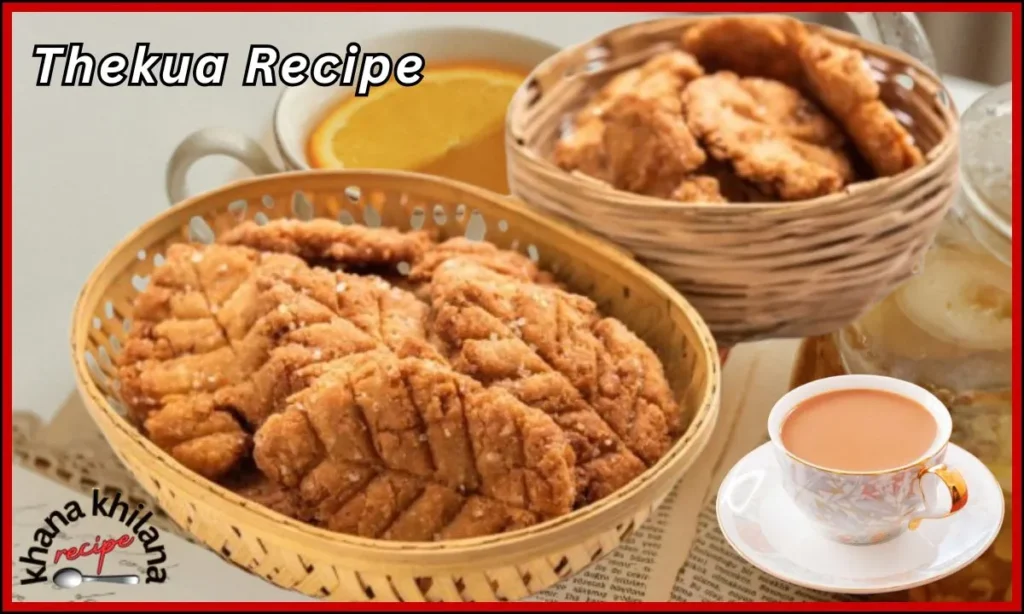
Serving Suggestions
Serve with masala tea or coffee as a teatime snack.
Serve to guests during festivals, pujas, or community gatherings.
Pack these when going on long trips—they stay fresh for days.
Crumble thekua with vanilla ice cream or yogurt for a modern dessert.
Health Benefits of Thekua
Healthy Ingredients: Made from wheat flour and jaggery, thekua is less refined than commercially available sweets.
Energy-Rich: Jaggery and fresh ghee provide instant energy and natural fats.
Iron-Rich: Jaggery helps prevent anemia and increases hemoglobin in the body.
No Preservatives or Additives: This is a pure homemade delicacy.
However, moderation is important—this is still a fried sweet.
Common Mistakes and How to Avoid Them
1. Sticky Dough: Caused by excess jaggery syrup. Correct this with more flour.
2. Cracks on the Surface: This occurs when the dough is too dry; add a teaspoon of water.
3. Uneven Cooking: Reduce the oil temperature and fry slowly.
4. Soft Texture: Fry for a longer time on low heat for a crispier crust.
Thekua in Today’s Kitchen
Modern cooks have adopted thekua not only for religious occasions but also for its rustic charm. Food bloggers and chefs have begun recreating it with ingredients like oats, coconut sugar, or millet flour. Nevertheless, the authentic taste of traditional thekua has captivated people for generations.
It is a sweet that connects people to their ancient roots, reminding them of happy festive mornings, the aroma of roasting jaggery, and the sacred rituals of Chhath.
Conclusion
Thekua is more than just a sweet—it’s a cultural legacy served on a plate. Each bite carries the warmth of home, the devotion of generations, and the unpretentious charm of Indian village cooking. Whether you are making it for Chhath Puja or just to relish something handmade, this humble treat fills the home with irresistible fragrance and nostalgia.
Make a batch of Thekuas this weekend, share them with loved ones, and keep this beautiful tradition alive in your kitchen.
You May Also Like
Aloo Ka Halwa Recipe
Moong Dal Halwa: Rich & Authentic Indian Dessert for Festivals
Til Ke Ladoo Recipe: Delicious and powerful for winters
Gulab Jamun Recipe
Thekua Recipe / Nutrition Value

नमस्ते, मैं राजीव शर्मा हूँ। हम आपको Khana Khilana Recipe ब्लॉग पर आसान, झटपट और स्वादिष्ट रेसिपी सिखाते हैं। यहाँ आपको घर पर बनने वाली रोजमर्रा की रेसिपीज़, खास मौके की डिशेज़ और किचन टिप्स मिलती हैं, ताकि आपका कुकिंग अनुभव और भी आसान और मज़ेदार हो सके।